As we all know that one of the most important qualities that a website must have is a contact us page. Even one of the most important conditions for Google AdSense to accept your site is that your site contains a contact us page alongside other static pages.
 |
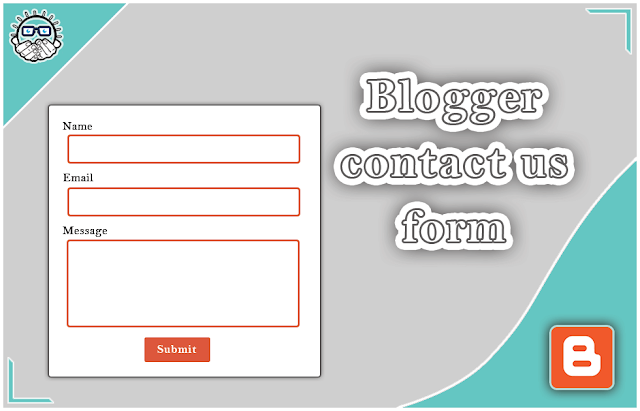
| Blogger contact us form |
Therefore, most of the existing blogger blogs may contain traditional contact us pages. The owners of the sites put contact information from an email and phone number to communicate and even links to their social networking pages only.
What do you think if I told you that you can put a professional form to send a message to contact us on your page that enables you to receive messages, complaints, or suggestions to your e-mail directly without the need to put any code in JavaScript or anything like that.
You do not need to have previous experience in programming or even prior knowledge, yes it is only a short code, I will put it for you in the code box below. You copy and paste it into the HTML code editor of the contact us page on your site and then save the page.
Well, you know it's not our custom to give you a ready-made code without explaining how it works, or how you can install it. So follow along with me and you will know everything, God willing.
First, how does it work?
We also know that Google created the Blogger platform through the XML page coding system and that it controls everything from the server-side, and we cannot put any programmatic command through which to address the Blogger hosting server. So, it is fair for Blogger to put ready-made codes to make it easier for bloggers who own their sites with Blogger, and for us to create contact forms on other sites or send the content of the contact form to other hosts and store it in external databases.
There is no need for all this spin, as Google wants to save you effort and trouble. It has developed a contact us form that contains the name, email, and message field. You place it on your page and it automatically interacts with the visitor when you press the send button.
After the visitor presses the submit button, the message is generated and then sent to your e-mail registered with the Blogger service without your intervention.
Next, how to install it?
You can install a Contact Us form easily and in very simple steps that do not require any programming knowledge or experience, all you have to do is follow these three simple steps.
- Create a contact us page or open it if you have already created it.
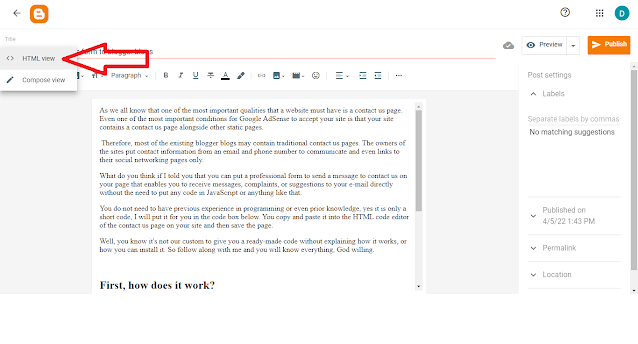
- Navigate to HTML view from the option in the top editor bar

|
| switch to HTML view |
- Paste the contact form code where you want it to appear on your page and then save the page
Now you can preview the contact page, enter fake data in the form, and press send, to find that the data has been simply sent to your e-mail.
That was all, I hope this lesson will benefit you and see you in another lesson, God willing.
To preview our Contact Us page: Contact Us.
Contact Us Form source code:
<style>
.page-contact-form input,.page-contact-form textarea {width: 100%;max-width: 100%;margin-bottom: 10px;}
.page-contact-form input.contact-form-button.contact-form-button-submit {padding: 10px;background: #ea6337; color: #fff;border: none;}
.page-contact-form input.contact-form-button.contact-form-button-submit:hover {background: #d85b32;color: #fff;}
</style>
<div class="contact-form-widget page-contact-form">
<div class="form">
<form name="contact-form">
Name:<br />
<input
class="contact-form-name"
id="ContactForm1_contact-form-name"
name="name"
size="30"
type="text"
value=""
/>
E-mail: <span id="required">*</span><br />
<input
class="contact-form-email"
id="ContactForm1_contact-form-email"
name="email"
size="30"
type="text"
value=""
/>
Message: <span id="required">*</span><br />
<textarea
class="contact-form-email-message"
cols="25"
id="ContactForm1_contact-form-email-message"
name="email-message"
rows="5"
style="min-height: 200px;"
></textarea>
<input
class="contact-form-button contact-form-button-submit"
id="ContactForm1_contact-form-submit"
type="button"
value="Submit"
/>
<br />
<div
class="contact-form-error-message"
id="ContactForm1_contact-form-error-message"
></div>
<div
class="contact-form-success-message"
id="ContactForm1_contact-form-success-message"
></div>
</form>
</div>
</div>
is very useful thank's.
ReplyDeleteThis comment has been removed by the author.
Delete